Table of Contents
前言
2023 鐵人賽 DAY-21 Flutter
昨天有點草草斷在一個奇怪的地方
今天來把資料流的最後一段完成
至少要完成到可以看到價格跳動~
完成了這部分
後面的功能都算是相同的技術
不同的邏輯而已
距離一個下單介面越來越近了
複習一下
之前一直不斷強調
為了達到高效能,我們捨棄 JSON 而選用 Protobuf
所以沒有道理前面那段使用了 Protobuf
而從 Golang -> Flutter 這段反而走回頭路用 JSON 或者字串
先來看一下這個資料最一開始從 Python 是怎麼傳的
def future_quote_callback_v1(self, _, tick: sj.TickFOPv1):
    rabbit = self.pika_queue.get(block=True)
    try:
        rabbit.channel.basic_publish(
            exchange=self.exchange,
            routing_key=f"future_tick:{tick.code}",
            body=mq_pb2.FutureRealTimeTickMessage(
                code=tick.code,
                date_time=datetime.strftime(tick.datetime, "%Y-%m-%d %H:%M:%S.%f"),
                open=tick.open,
                underlying_price=tick.underlying_price,
                bid_side_total_vol=tick.bid_side_total_vol,
                ask_side_total_vol=tick.ask_side_total_vol,
                avg_price=tick.avg_price,
                close=tick.close,
                high=tick.high,
                low=tick.low,
                amount=tick.amount,
                total_amount=tick.total_amount,
                volume=tick.volume,
                total_volume=tick.total_volume,
                tick_type=tick.tick_type,
                chg_type=tick.chg_type,
                price_chg=tick.price_chg,
                pct_chg=tick.pct_chg,
                simtrade=tick.simtrade,
            ).SerializeToString(),
        )
    except Exception as err:
        logger.error("future_quote_callback_v1 error %s", err)
    self.pika_queue.put(rabbit)
這是券商資料來的時候
會被使用的 Callback
可以看到是用 mq_pb2.FutureRealTimeTickMessage 往 RabbitMQ 送
而在 Golang 這邊
我們先暫時原封不動往下送
當然是被序列化過的,所以還是 []byte
delivery, bErr := rabbit.BindAndConsume("future_tick:MXFJ3")
if bErr != nil {
	logger.Fatalf("could not bind and consume: %v", bErr)
}
for {
	d, opened := <-delivery
	if !opened {
		return
	}
	priceChan <- d.Body
}
進入正題
昨天停留在定義了一個在 Flutter 使用的 class
忘記說為什麼不乾脆直接用 Protobuf 的格式就好
因為在 Golang 那邊完全什麼都沒處理就送出來
所以現在會在 Flutter 這邊
把數據調整一下
Dart 沒有 []byte 怎麼辦?
剛剛提到的 WebSocket 裡面
資料型態都是 []byte
在這邊就會 List<int>
這邊預計還是使用 FutureBuilder
所以先把昨天定義的結構 RealTimeFutureTick 宣告出來
一樣會是一個 Future
// 一樣要初始化為空值
Future<RealTimeFutureTick?> lastTick = Future.value();
void initialWS() {
_channel = IOWebSocketChannel.connect(Uri.parse('ws://127.0.0.1:8080/ws/price'), pingInterval: const Duration(seconds: 1));
_channel!.stream.listen(
(message) {
if (!mounted) {
return;
}
setState(() {
final msg = pb.FutureRealTimeTickMessage.fromBuffer(message as List<int>);
lastTick = Future<RealTimeFutureTick>.value(RealTimeFutureTick.fromProto(msg));
});
},
onDone: () {
if (mounted) {
Future.delayed(const Duration(milliseconds: 1000)).then((value) {
_channel!.sink.close();
initialWS();
});
}
},
onError: (error) {},
);
}在 Flutter 的 Protobuf
會自帶一個 fromBuffer 的方法
可以看成 Golang 當中的 Unmarshal
在解釋一點點
這邊先 fromBuffer 之後,在用 RealTimeFutureTick 的類方法
fromProto 把 Protobuf 的資料轉換成我們定義的 RealTimeFutureTick
最重要的還是要 setState
讓畫面可以隨著這個資料變化
畫出來
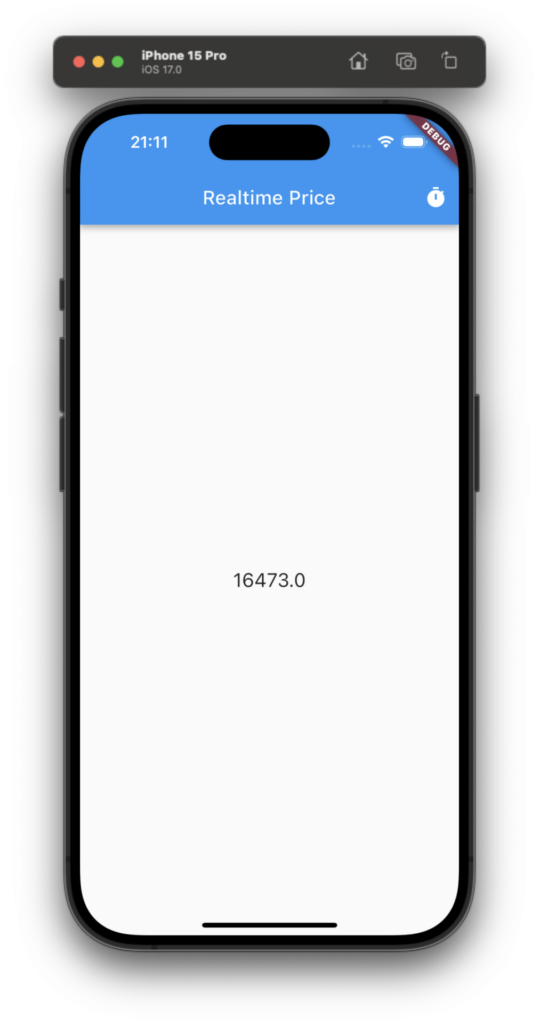
這邊先借用之前的畫面
只是改一下字
變成 Realtime Price
然後把 FutureBuilder 裡的資料變成 RealTimeFutureTick
到這邊就可以試試看把 APP 跑起來
沒有意外,畫面上的數字應該是一直在跳動的
@override
Widget build(BuildContext context) {
  return MaterialApp(
    home: Scaffold(
      appBar: AppBar(
        title: const Text('Realtime Price'),
        actions: [
          IconButton(
            icon: const Icon(Icons.timer),
            onPressed: sendReq,
          ),
        ],
      ),
      body: FutureBuilder<RealTimeFutureTick?>(
        future: lastTick,
        builder: (context, snapshot) {
          if (snapshot.hasData) {
            return Center(
              child: Text(
                snapshot.data!.close.toString(),
                style: const TextStyle(fontSize: 20),
              ),
            );
          }
          return const Center(
            child: CircularProgressIndicator(
              color: Colors.black,
            ),
          );
        },
      ),
    ),
  );
}
美化一下
這邊我們順便把漲跌也加進來
也順便讓他有顏色
return Center(
  child: Row(
    mainAxisAlignment: MainAxisAlignment.spaceEvenly,
    children: [
      Text(
        snapshot.data!.close!.toInt().toString(),
        style: const TextStyle(fontSize: 50),
      ),
      Text(
        '${snapshot.data!.changeType}',
        style: const TextStyle(fontSize: 30),
      ),
      Text(
        snapshot.data!.priceChg!.abs().toString(),
        style: TextStyle(
          fontSize: 25,
          color: snapshot.data!.priceChg! > 0 ? Colors.red : Colors.green,
        ),
      ),
    ],
  ),
);
這邊用上了 Row 這個 Widget
就不多做解釋
他是一個橫向排列的容器
畫面就會變成下變這樣
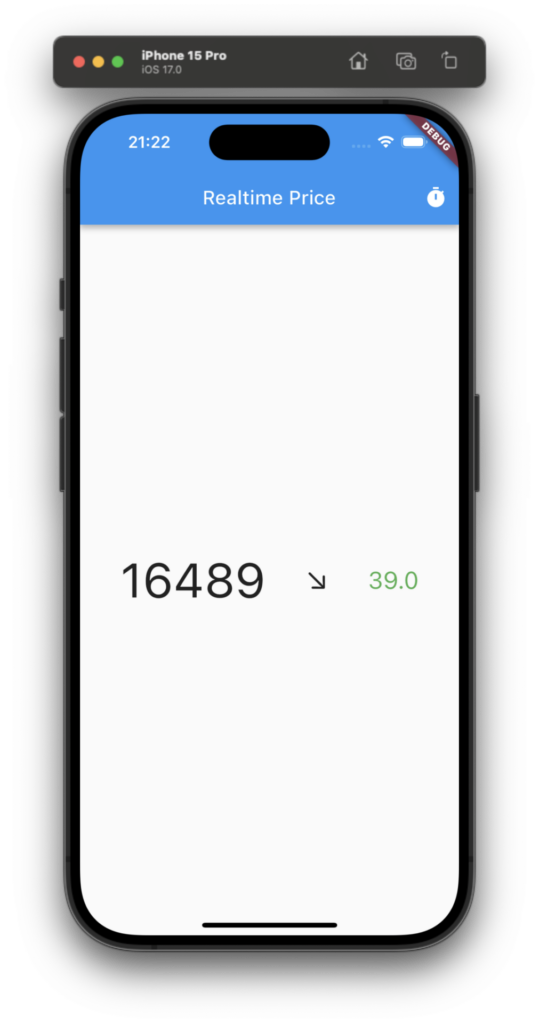
是不是順眼多了
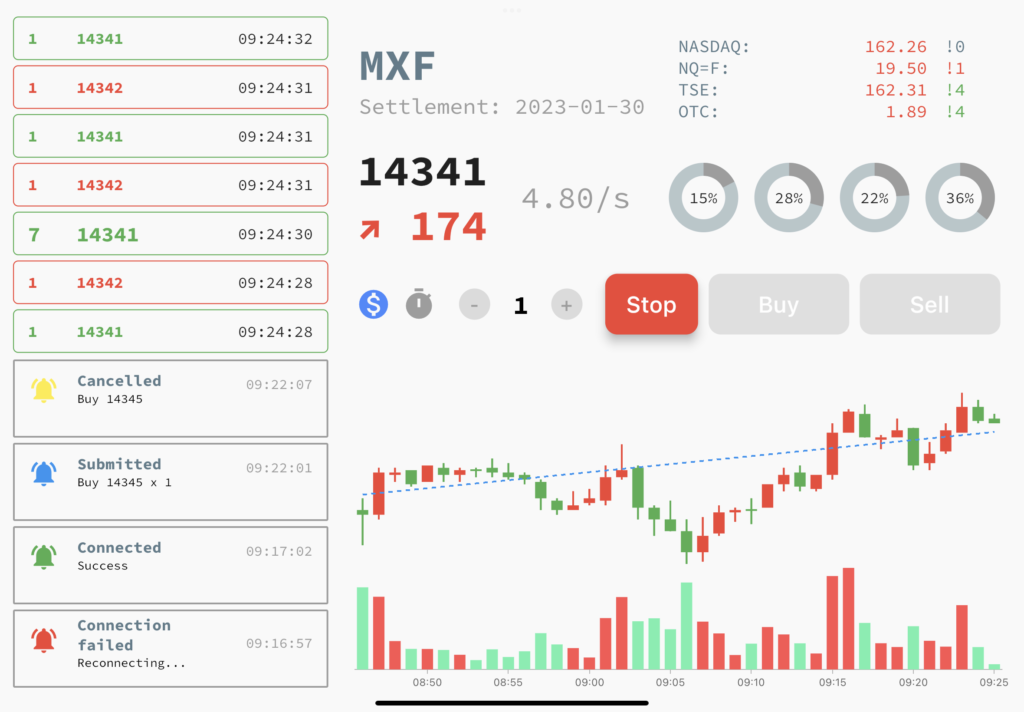
就差兩顆按鈕就可以下單了🤣
還要再額外說明一下,畫面上的 ↗️、↘️
是什麼時後加上去的呢
在 Row 裡面沒有看到啊
答案在昨天新增的 RealTimeFutureTick
裡面新增了 changeType
並且利用 priceChg 來給他箭頭
if (tick.priceChg > 0) {
  changeType = '↗️';
} else if (tick.priceChg < 0) {
  changeType = '↘️';
} else {
  changeType = '';
}
總結
2023 鐵人賽 DAY-21 Flutter
總算到今天這步了
看到資料在跑
有沒有覺得很興奮啊
剩下時間不多了
接下來把交易的功能實作完
把畫面擺一擺,就是一個下單介面~
